— David DeWitt
Author Archive
PIM6 END of Article
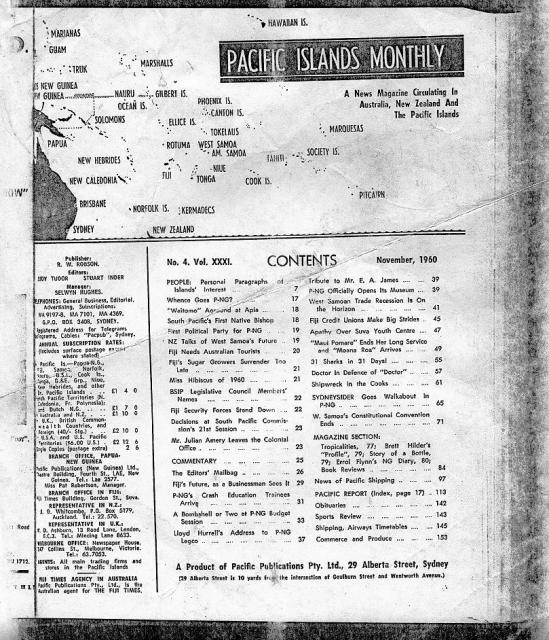
Picture not visible on this website?
Pictures are not displayed on Web sites in Internet Explorer
SYMPTOMS:
When you open a Web page, one or more pictures (graphics or images) may not be displayed. Instead, a red X, or a placeholder, may appear in place of the images.
THE FIX: in Internet Explorer, click Tools, click Internet Options, under General tab, delete Browsing History, delete Temporary Internet Files, delete Cookies, delete History. Click Close. Under General Tab, click OK to close–In Internet Explorer, hit Refresh (C-5). The page will reload with all the pictures visible!
CAUSE:
This behavior can occur if one of the following conditions is true:
• The Web page includes an image type that is not supported by Microsoft Internet Explorer or by Windows Internet Explorer.
• The Show Pictures check box is not selected on the Advanced tab of the Internet Options dialog box, or the Toggle Images.exe Web accessory was used to disable images in Internet
Explorer.
• The image is displayed based on a script, ActiveX control, cookie, Java applet, or HTTP referral information, and your computer or network is configured to block one or more of these features. For example, you may have Internet Explorer or Symantec Corporation's Norton Internet Security (NIS) or Norton
Personal Firewall (NPF) 2002 configured to block one or more of these features.
• Internet Explorer cannot determine the character set (also called code page or encoding) that is used by the Web page, or a file or registry key required to display the Web page with the appropriate character set may be missing or damaged. By default, Internet Explorer uses the character set that is specified in the HTTP content type that is returned by the server, the character set specified by the meta element in the Web page document, or your Encoding preference if no HTTP content type is returned by the server and no meta element is specified in the Web page document.
RESOLUTION:
To troubleshoot this issue, follow these steps. After each step, check to see if the issue is resolved. If the issue still occurs, continue troubleshooting with the next step:
1. Clear temporary Internet files. To clear temporary Internet files, follow these steps: a. On the Tools menu, click
Internet Options.
b. On the General tab, click Delete Files under Temporary Internet files.
c. Select the Delete all offline content check box, and then click OK.
d. Click OK to close the Internet Options window.
2. Right-click the red X or placeholder for the image, and then click Properties.
Verify that the image type is supported by Internet Explorer by examining the Type or Address (URL) values in the Properties dialog box.
For example, a Graphics Interchange Format (GIF) file will list GIF Image for Type and the Address (URL) ends with .gif. Internet Explorer displays images with an .art, .wmf, .emf, .png, .mov, .xbm, .avi, .mpg, .gif, .jpg, .mpeg, and .bmp extensions.
3. Start Internet Explorer.
4. If you have the Toggle Images.exe Web accessory installed, click the Toggle Images.exe link on the Links toolbar to turn on images.
Note: If the Links toolbar is not visible, right-click a blank area of the toolbar and verify that there is a check next to Links.
If the Toggle Images.exe link is not visible on the Links toolbar, click the arrow with two angle brackets on the far right-side of the Links toolbar.
5. Verify that Show Pictures has not been turned off in Internet Explorer: a. On the Tools menu, click Internet
Options.
b. Click the Advanced tab, and then verify that the Show Pictures check box is selected under Multimedia.
c. Click OK.
6. Make sure scripting, ActiveX controls, cookies, and Java applets are enabled in Internet Explorer. To do so, follow these steps:
a. On the Tools menu, click Internet Options.
b. Click the Security tab, and then click Default Level (if it is available) for the zone which contains the Web page (for example, Internet).
c. If you are using Internet Explorer 6, click the Privacy tab, and then click Default (if it is available).
7. If you are using a third-party Internet security, firewall, or cookie blocking program, contact the manufacturer of the program for information about how to enable scripting, ActiveX controls, cookies, Java applets, advertisements, and HTTP referral information.
If you access the Internet through a local area network (LAN), contact the administrator of your LAN to verify that scripting, ActiveX controls, cookies, Java applets, advertisements, and HTTP referral information are not blocked by a firewall or other security features on the network.
8. Start Internet Explorer.
9. On the View menu, point to Encoding. If a check does not appear next to Auto-Select, click Auto-Select.
10. On the View menu, point to Encoding, and then click the appropriate language for the Web page that you are trying to view. For example, if the Web page is in English (United States), click Western European (ISO) or Western European (Windows). If the required language is not available on the View menu, follow these steps to add it:
a. On the Tools menu, click Internet Options.
b. Click Languages, and then click Add.
c. Click the appropriate language, and then click OK.
— David DeWitt
